Room
In SPAT Revolution, spatialization of virtual sources takes place inside Rooms. To enter a room and open its graphic editor environment, double-click on a room module in the Setup graph or select a room tab from the Navigation bar.
When we enter a Room, we will see the 3D view and all the connected sources. Options related to the 3D view display are located in the top menu. On the left side panel of the room editor, you get a list representation of each source. We can click on an empty part of the source lane, and the Source Parameters editor for that virtual source will appear.
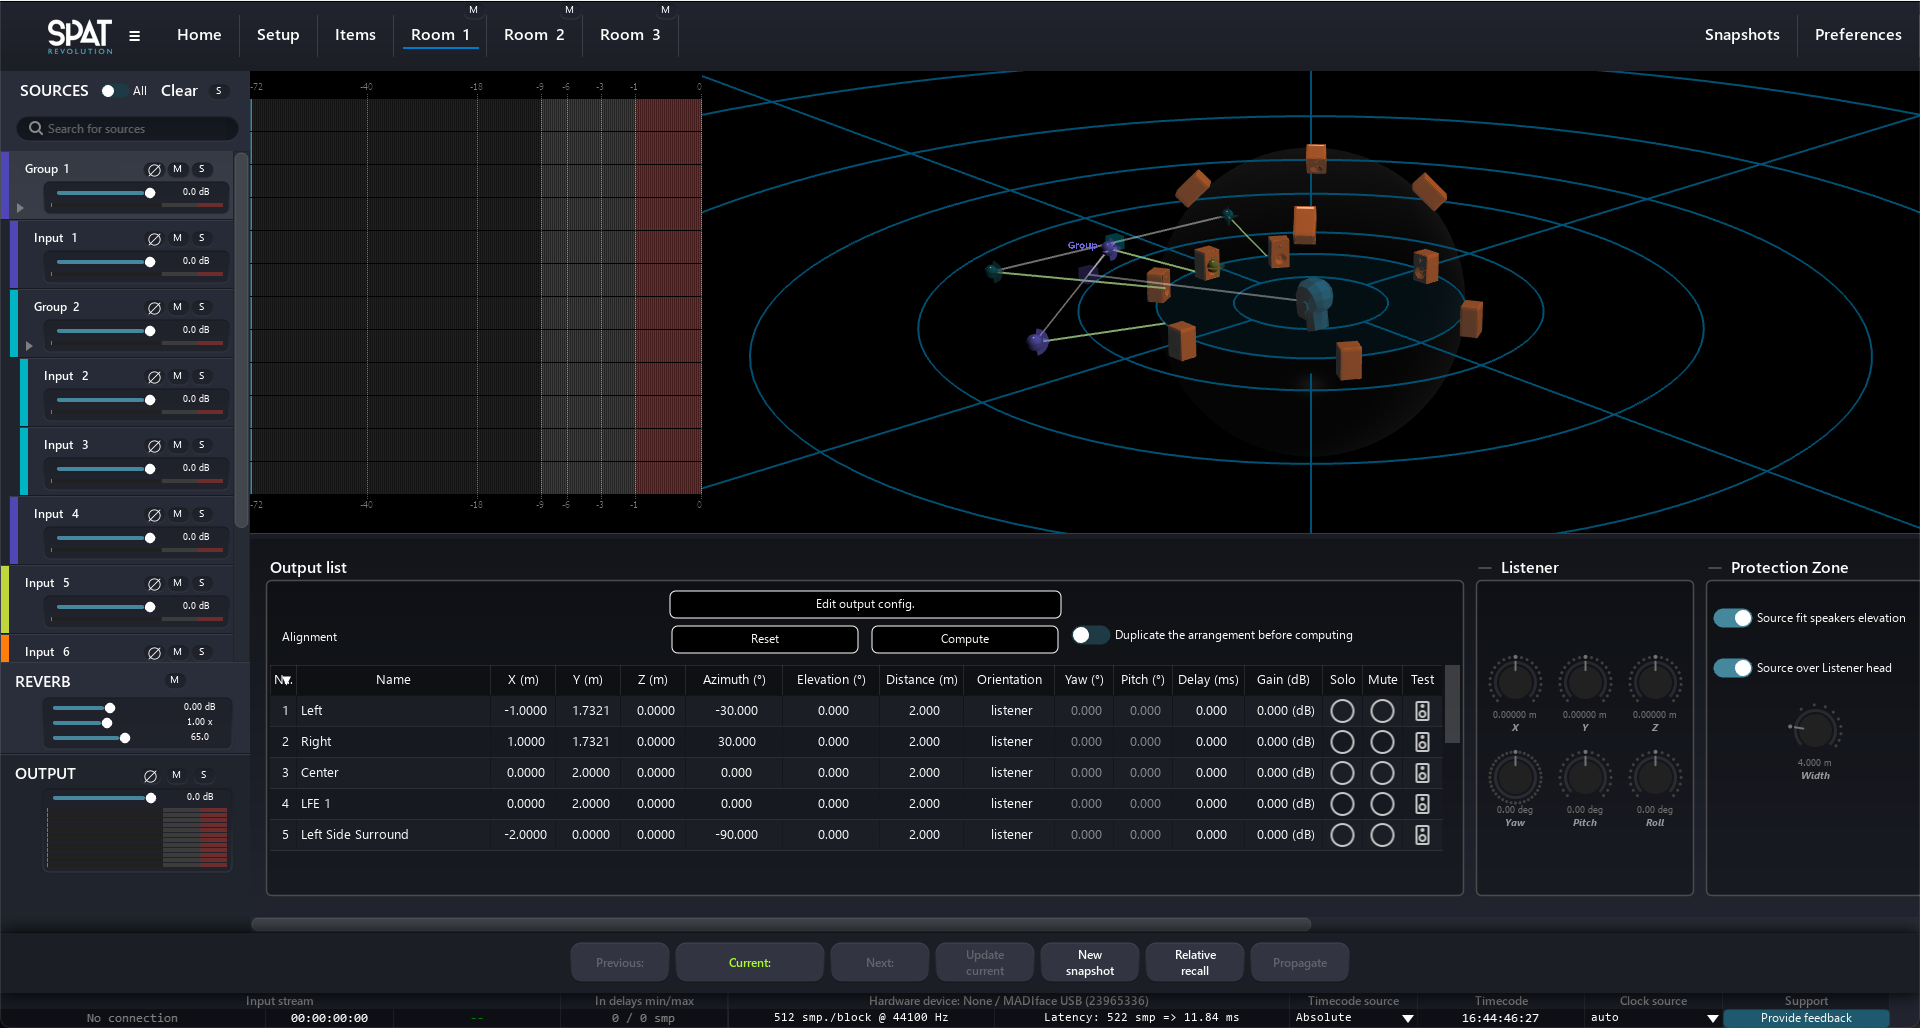
Mutes, solos, and phase inversions are manageable for all sources and for the entire room output from this index list. A solo clear button is available at the top of the source list. Clicking on it will reset all the solo of all rooms.
Two particular items labeled as REVERB and OUTPUT appear fixed at the bottom of the left panel. By clicking on these, we then enter into two more parameter editors: one relating to the Artificial Reverberation and one relating to the room output configuration and Listener Position editor.
When you have more than one room in your project, then the SOURCES switch at the top left of a Room editor can be handy, as it will show all sources from all Rooms in the same editor - allowing edition, mix, solo and mute management of all sources from one Room view.
Room Graphic Engine
Along with the audio modeling engine, one of SPAT’s key features is its ability to model a high-definition graphical representation of the virtual space inside each room. We can intuitively interact and move sources and “camera view” directly with our mouse. Move a source by grabbing its “emitter” object, or in the case of a grouped source, grab any one of the emitters that belong to the group. Alternatively, sources can be positioned by manipulating their coordinate-related source parameter controls.
Source manipulation from the 3D view:
- One click to select.
- Drag to move them.
The camera angle can also be manipulated:
- The mouse wheel controls the zoom factor.
cmd/ctrl+dragwill rotate the scene.shift+dragwill move the scene.
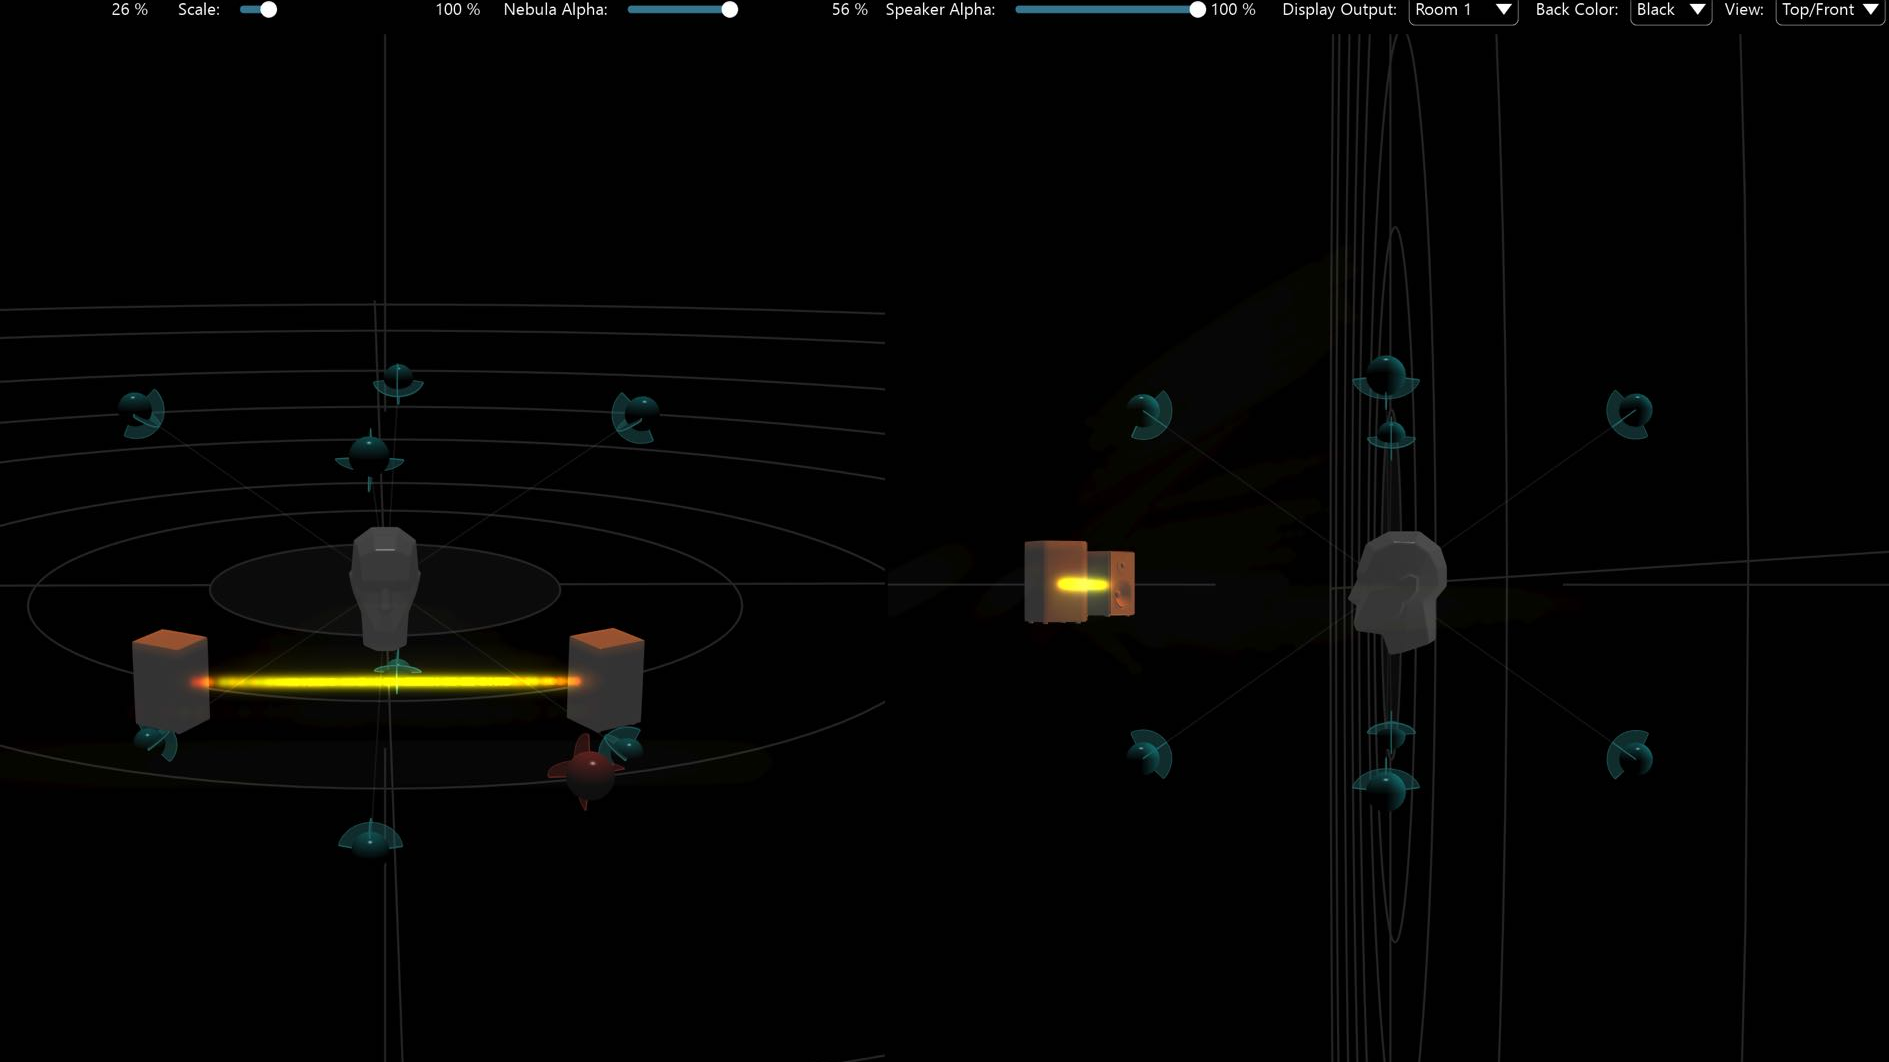
A split-screen Top-Front view is also available in the top bar menu. See the corresponding section below.
Selecting a source also displays its name over its 3D representation. At the top of the room, there is an option to display the names of all the sources or all the speakers.
Room top menu
This menu allows changing what elements and how they are displayed in the 3D view.
Source view
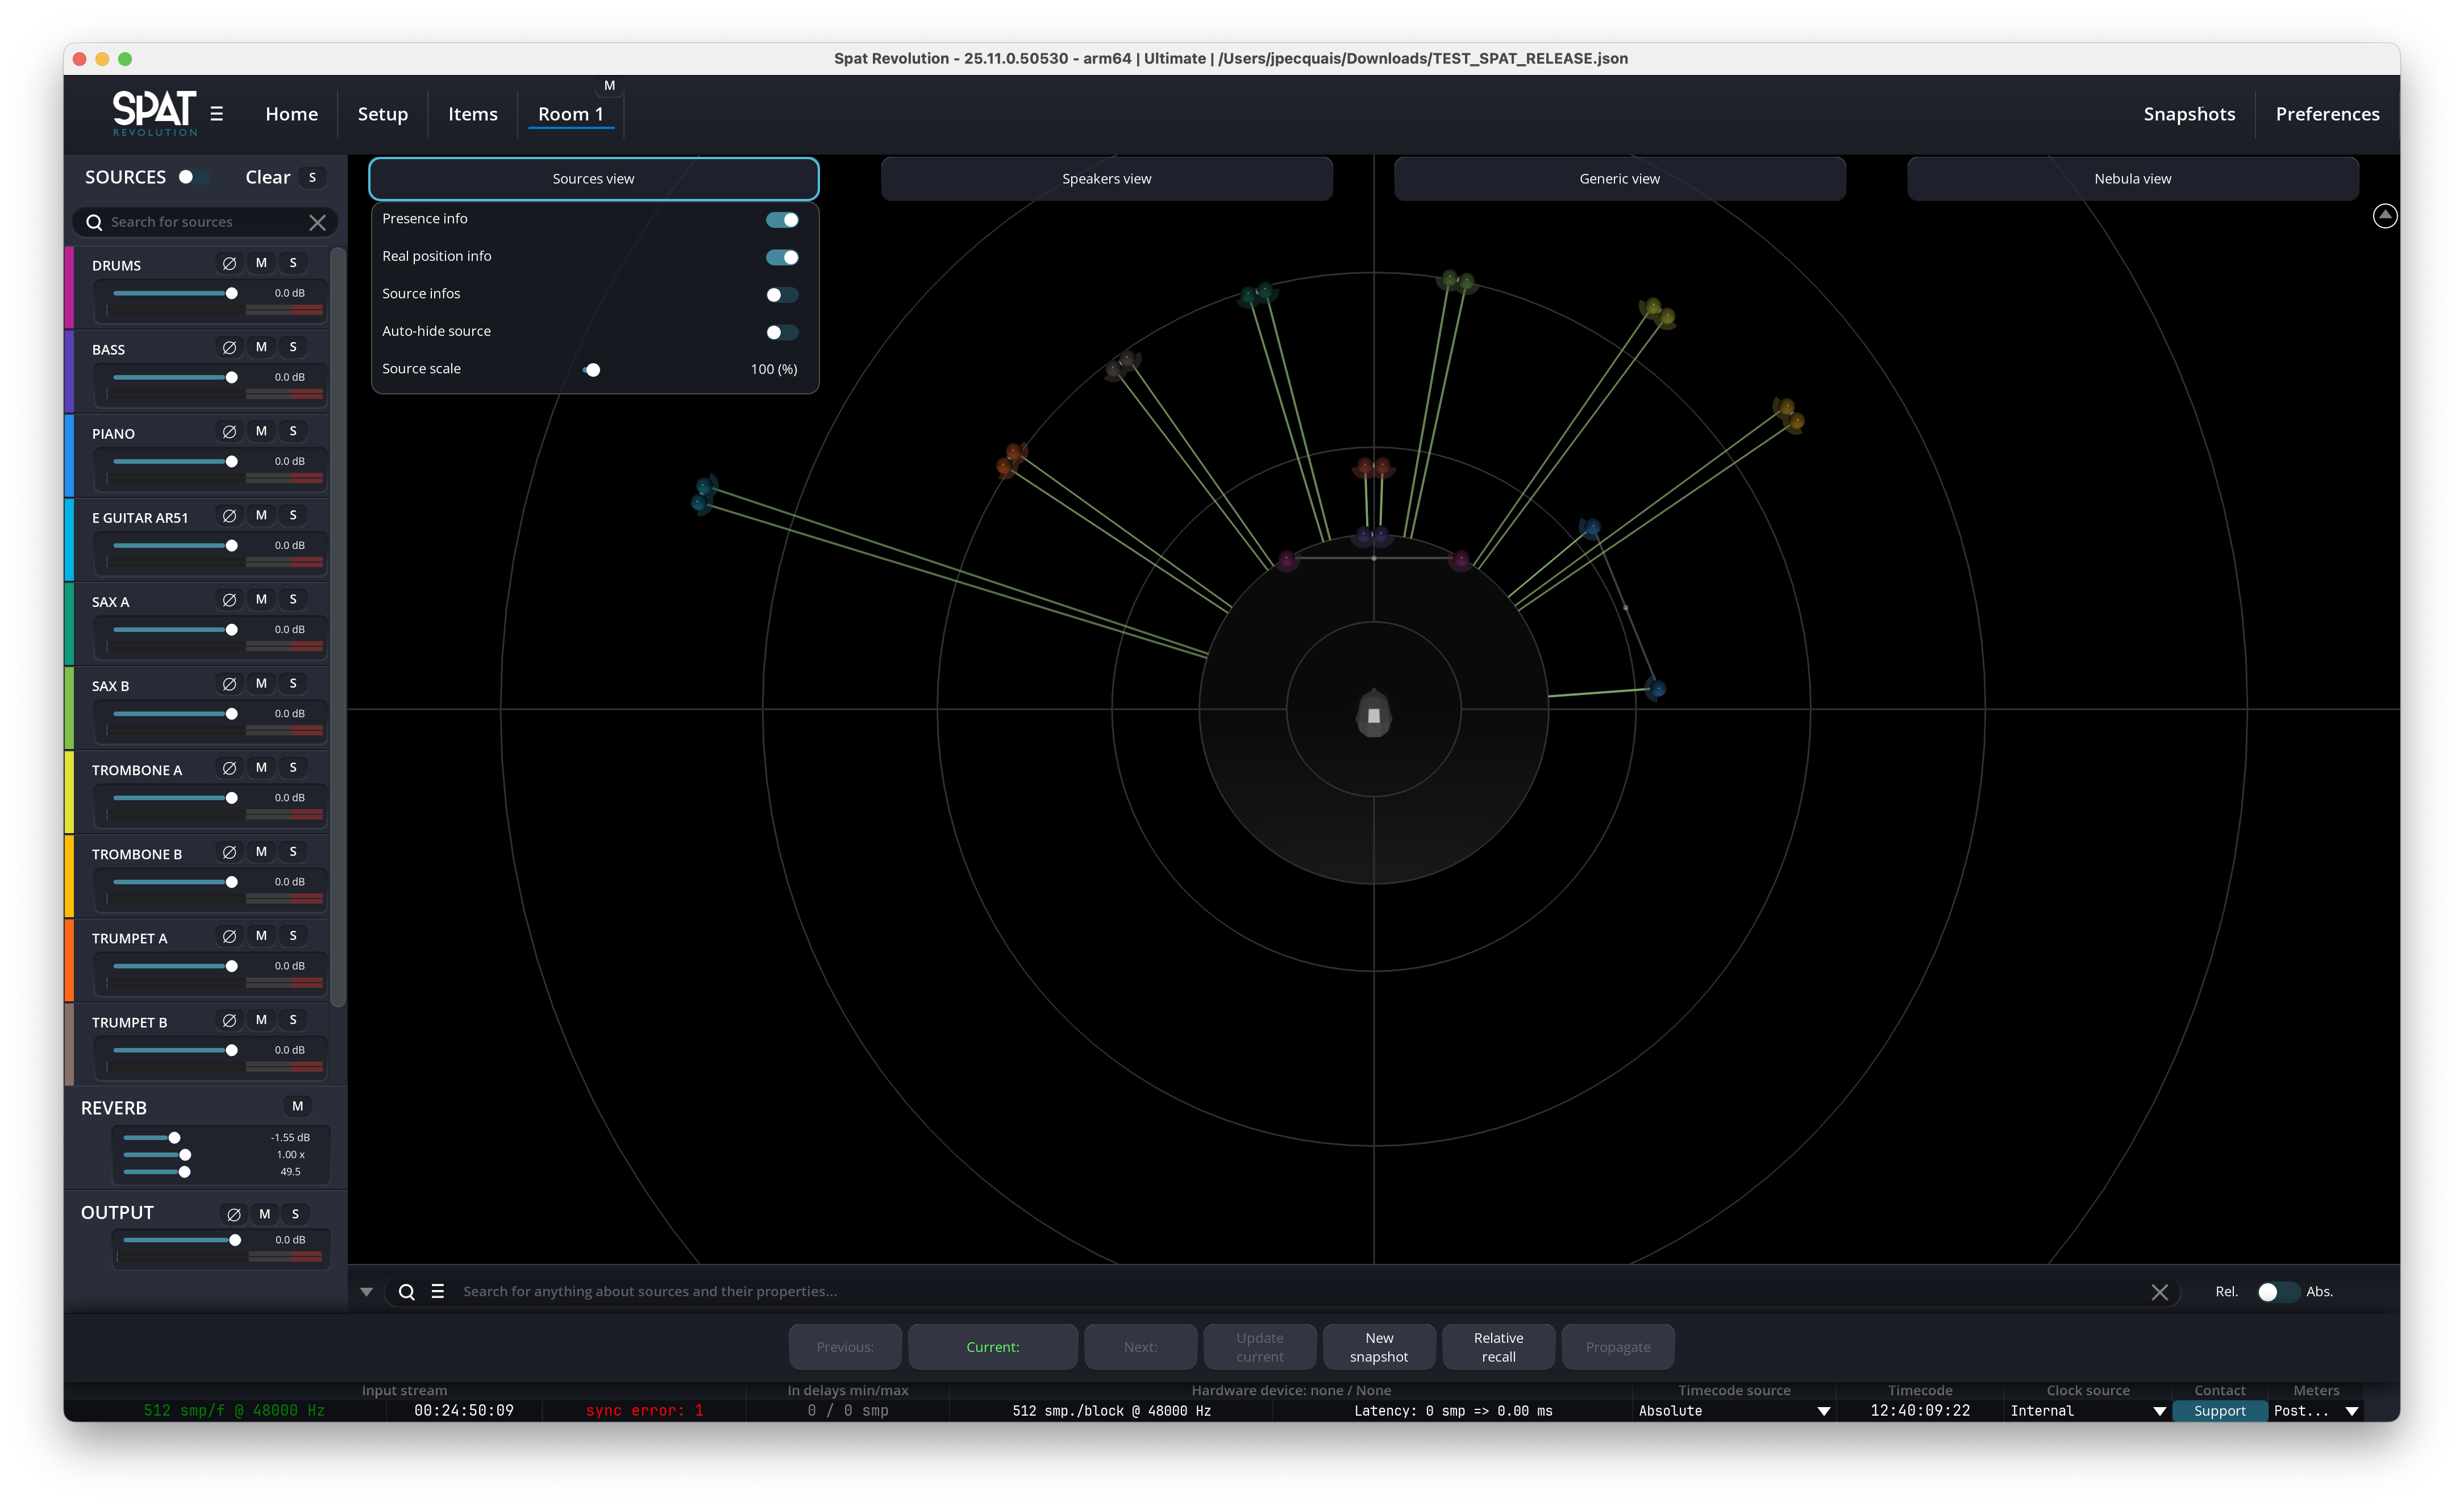
Presence Infos:
Display the presence factor as a green vector. The brighter it is, the more present the source is. When off, the green vector is no longer drawn.
Real Pos. Infos:
In some particular cases, the position of the source in the DSP may differ from the one you set up. When on, the DSP position is also displayed.
To understand better what these two first options do, consult the “Understanding the mixing zones” section.
Source Infos:
Display the name of the source even if it is not selected.
Speaker Infos:
Display the name of the speakers.
Auto-hide sources
Automatically hide sources depending on their input level.
Sources scale:
Make the sources bigger or smaller to adjust ease of sight.
Speaker View
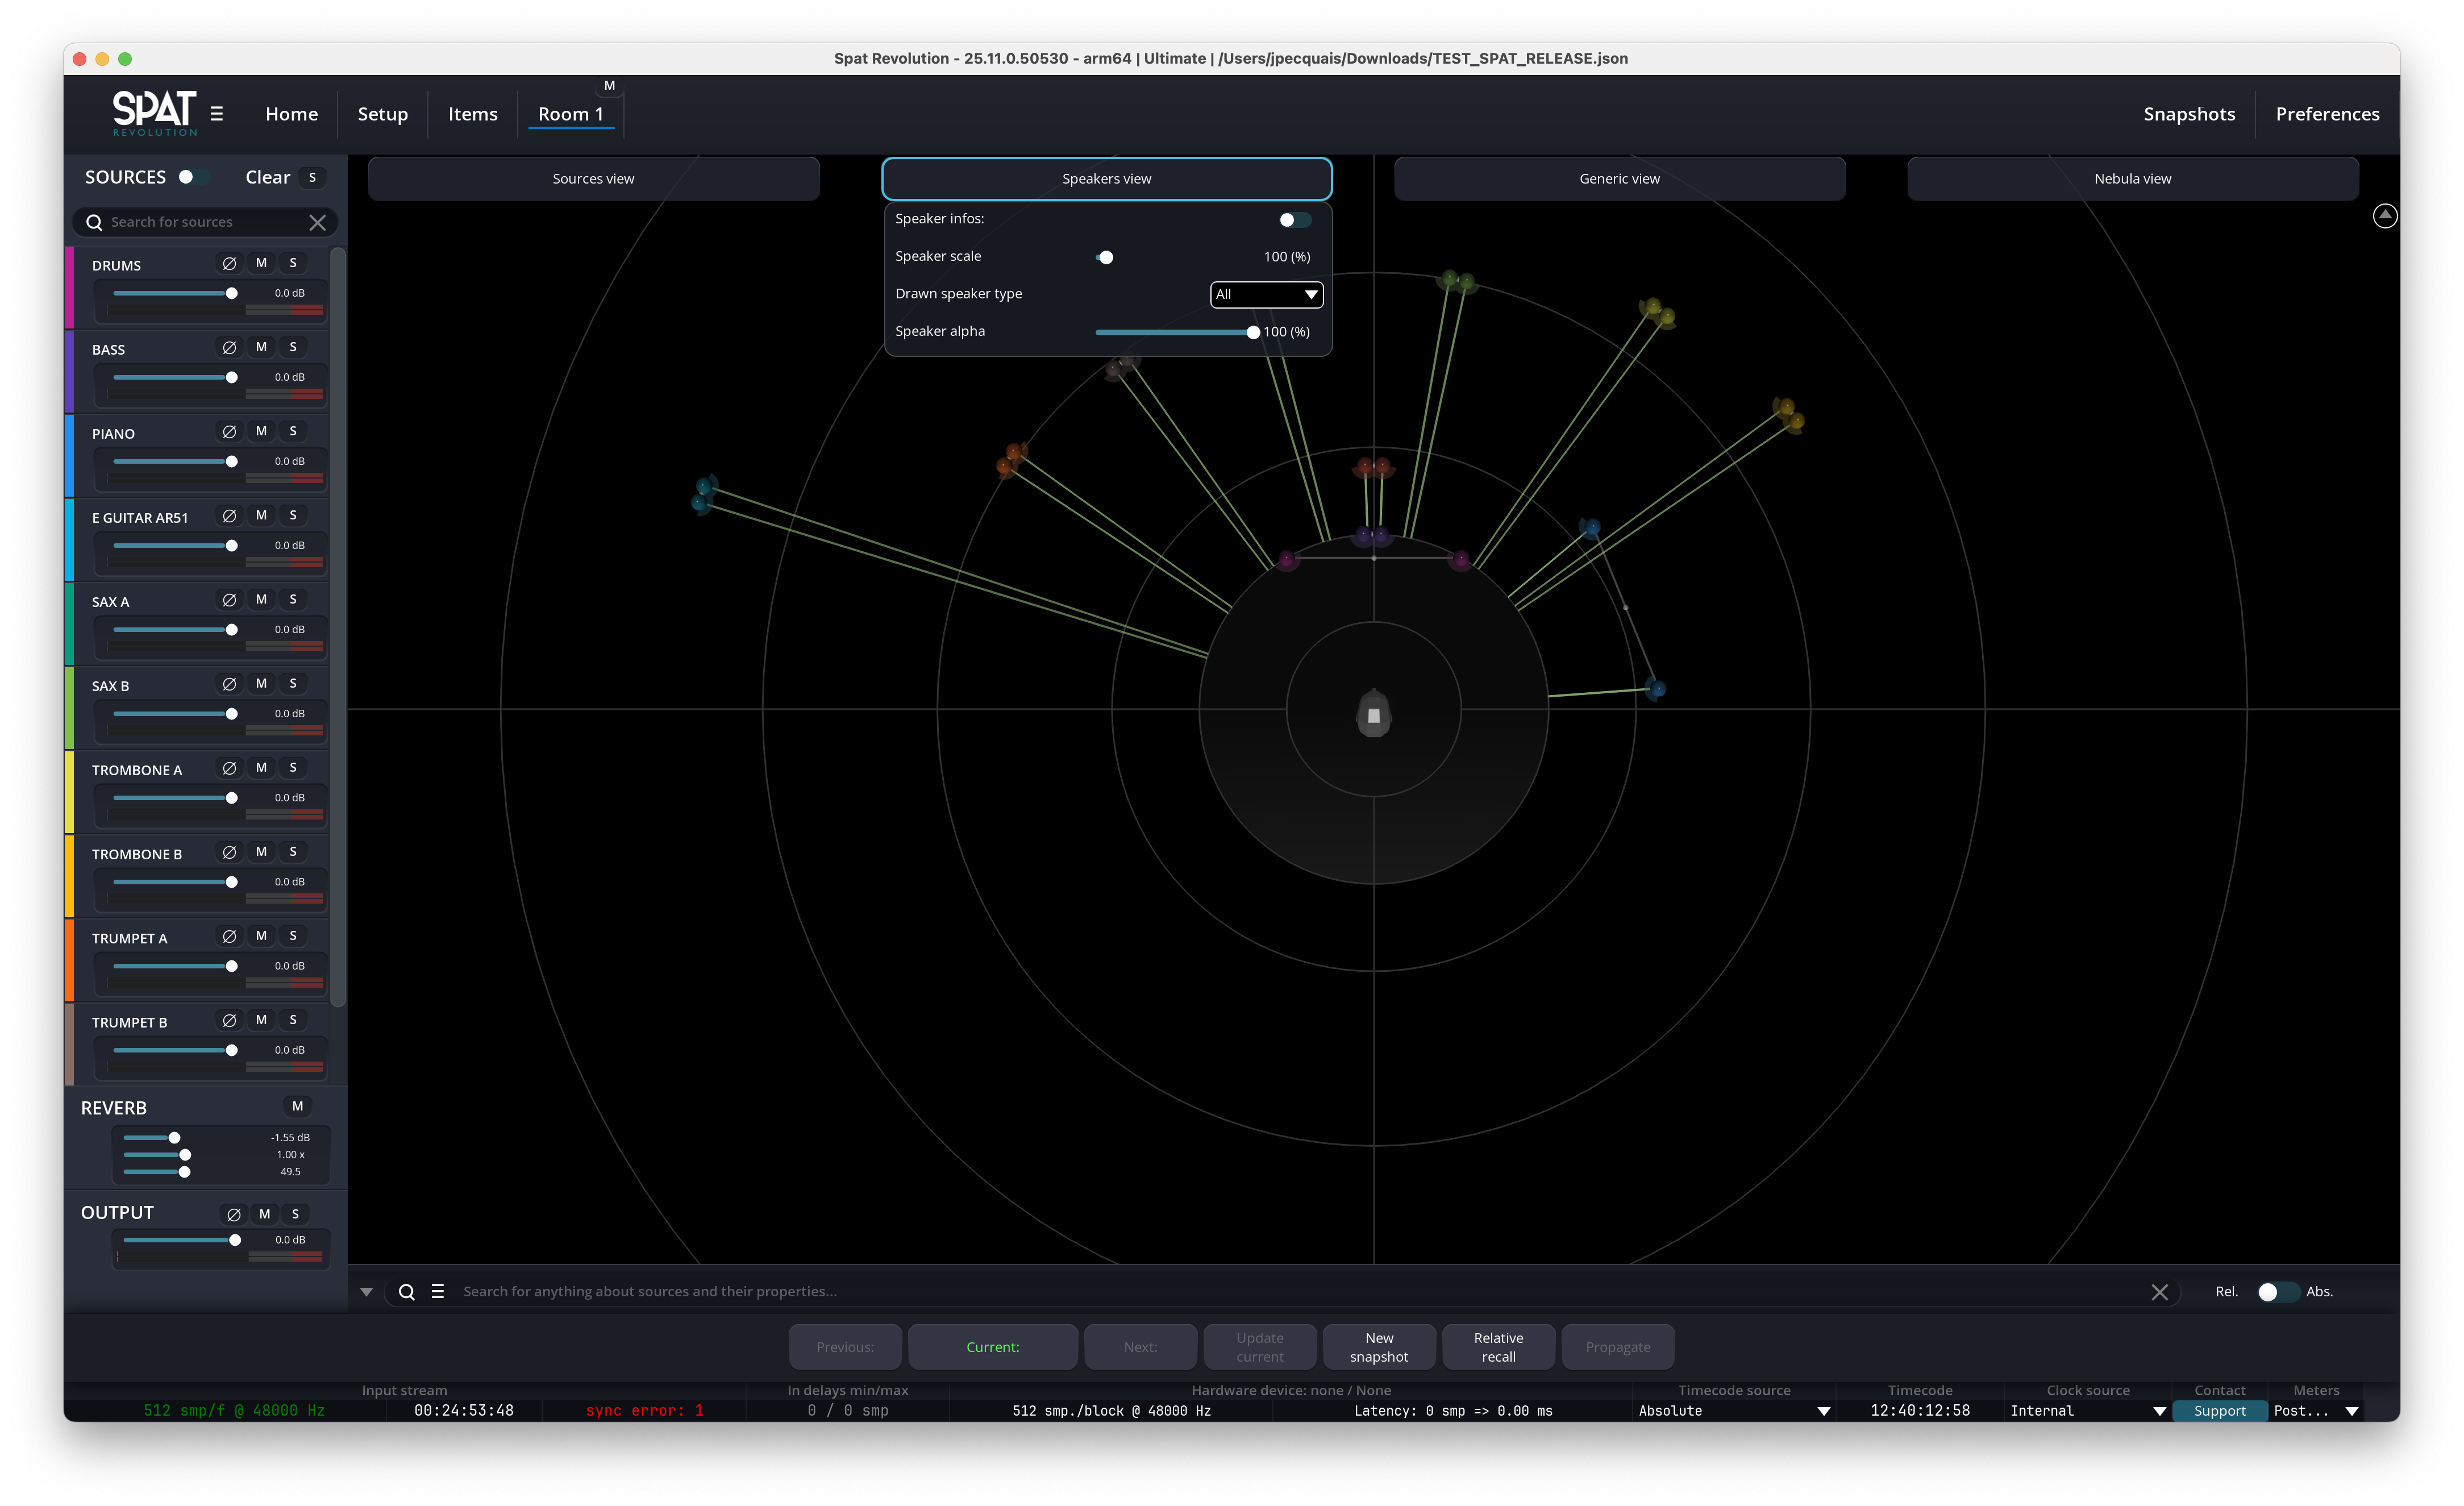
Speaker Alpha:
Change the transparency of the speakers.
Zone Alpha:
Change the transparency of the efficiency zone.
Draw speaker type:
Allows to draw real, virtual or both type of speakers. The drawing of speakers can also be entirely deactivated.
Speakers scale:
Make the Speakers bigger or smaller to adjust ease of sight.
Generic View
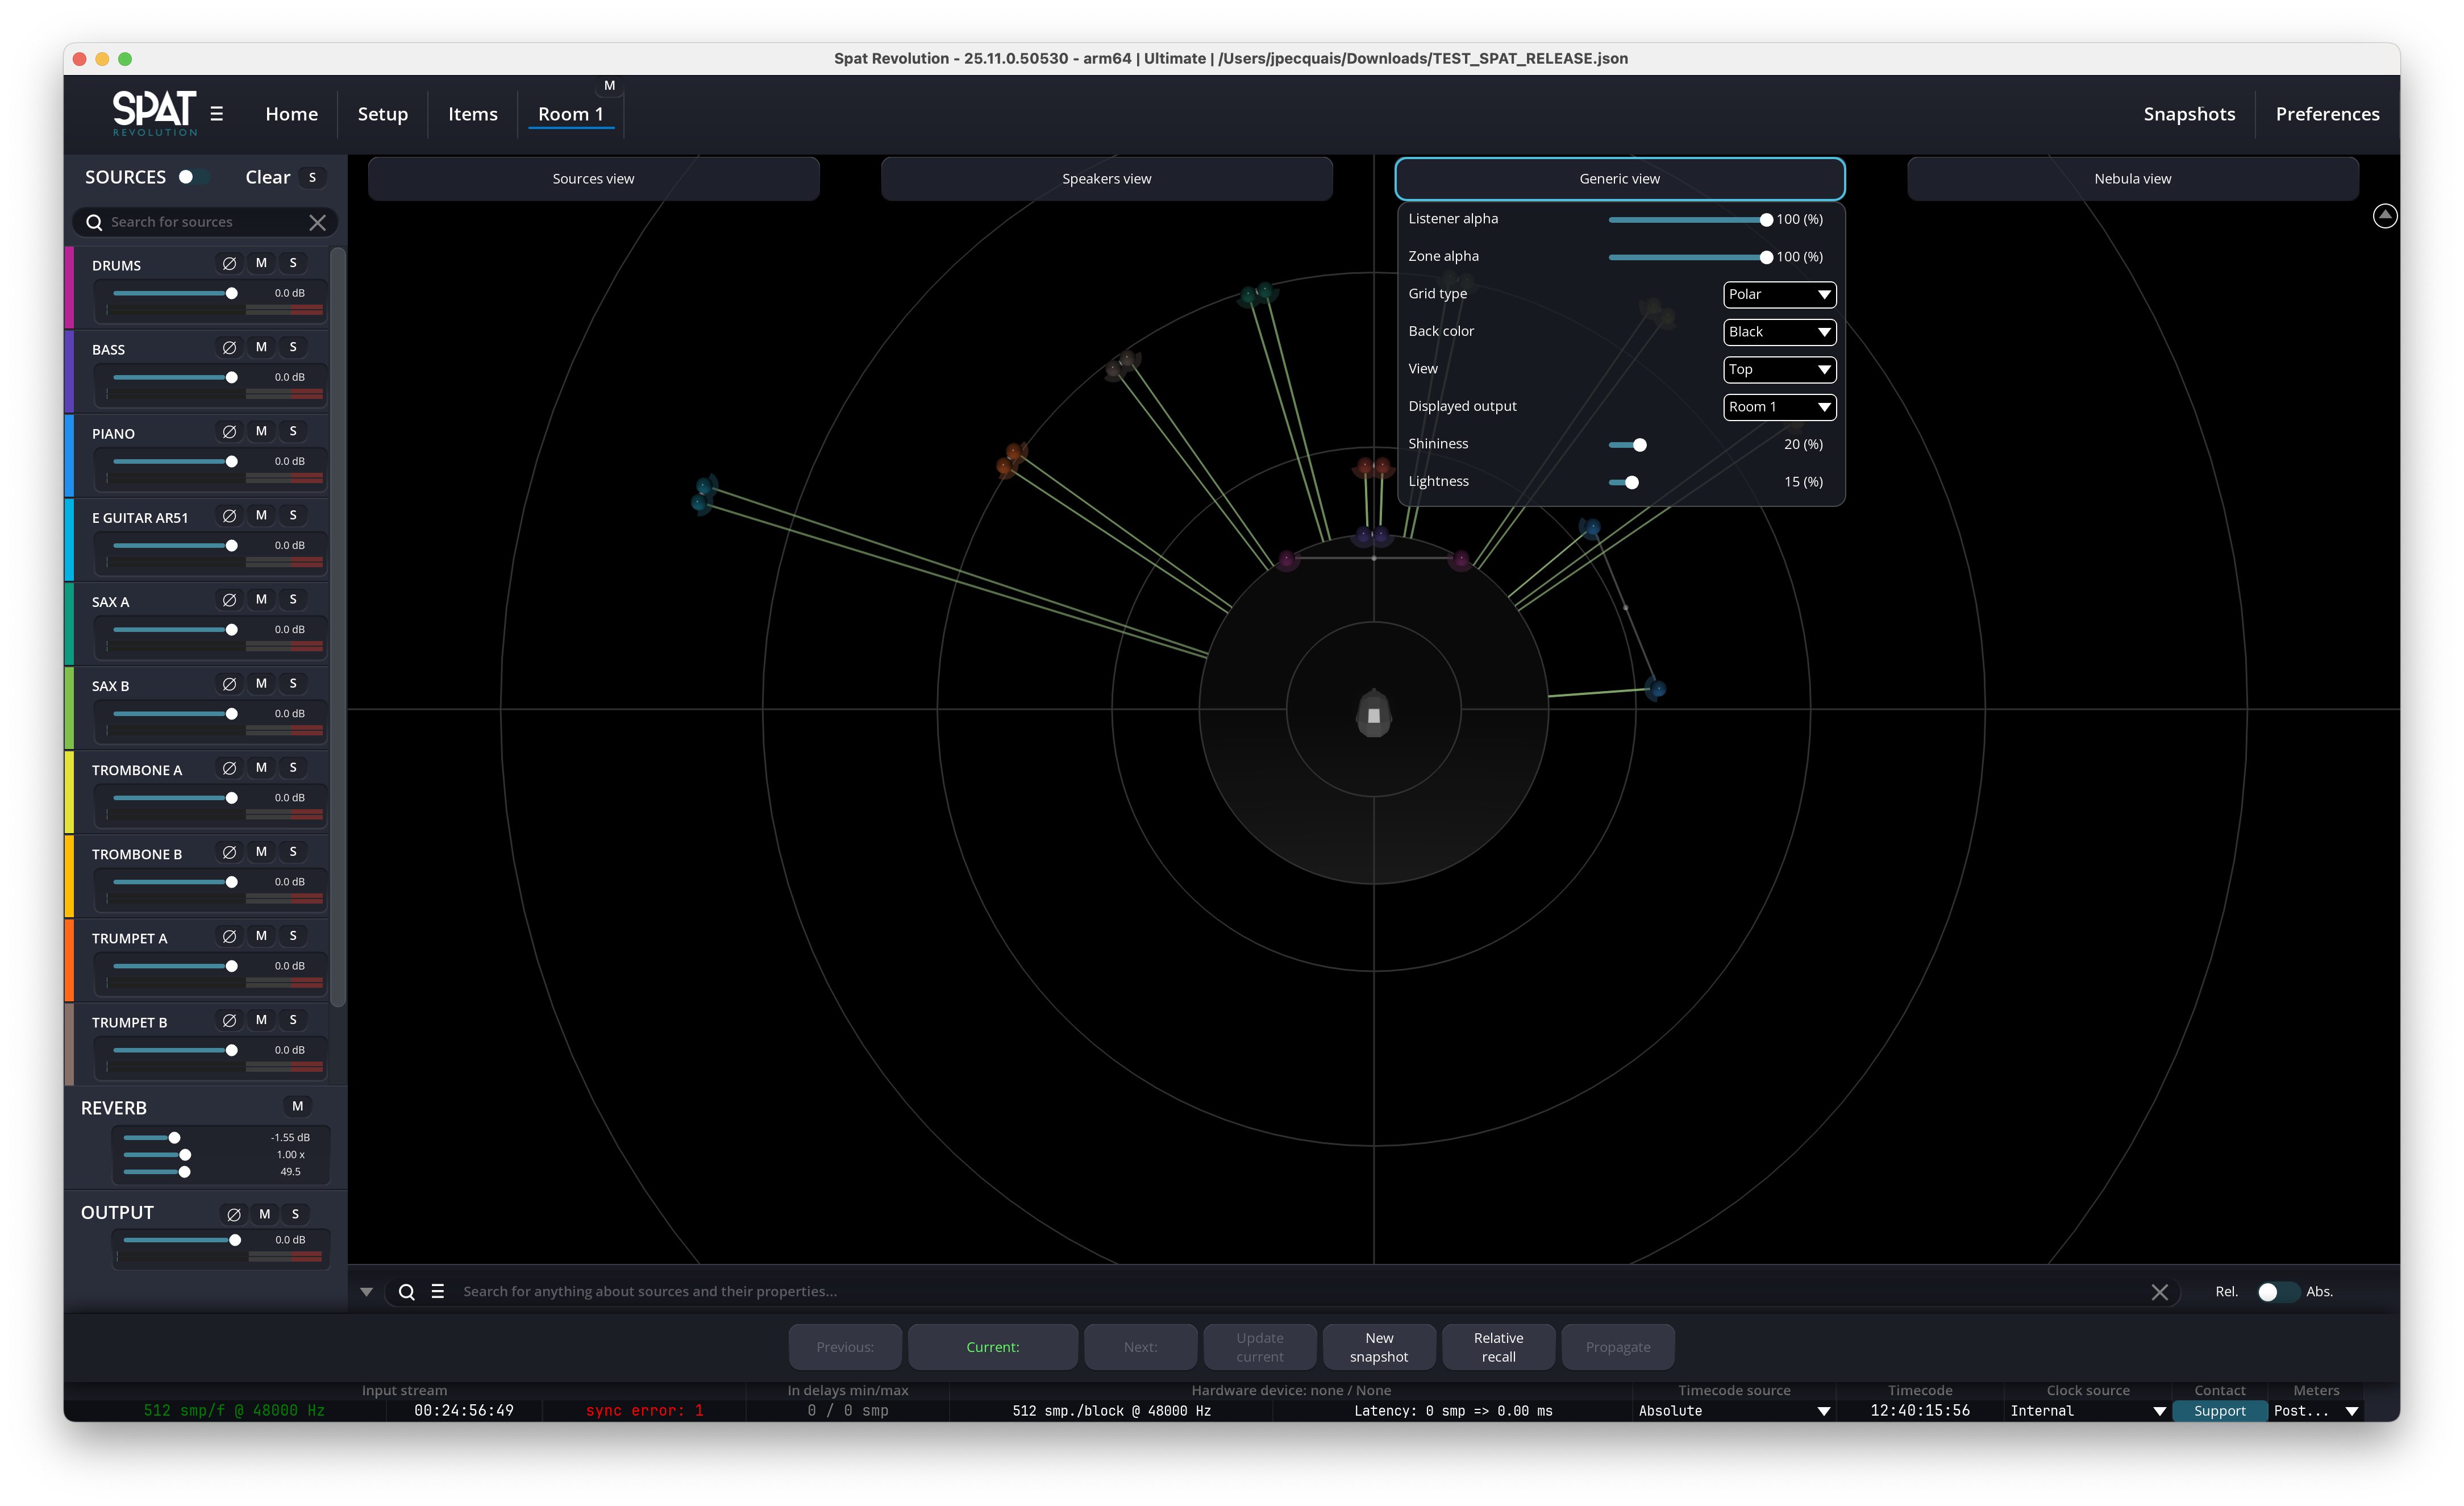
Grid type:
Toggle between polar or cartesian grids.
Display Output:
Allows to display the Nebula of a different setup module connected to this room. It can be helpful if you want to see the decoding of an ambisonic stream inside an ambisonic room, for example.
Background color:
Change the background color.
Shininess:
Change the shininess aspect of the graphical elements.
Lightness:
Change the brightness of the graphical elements.
View:
Choose if the 3D view is seen from:
- The top
- The front
- Or a split view: top and front
Listener Alpha:
Change the transparency of the listener’s head.
Nebula View
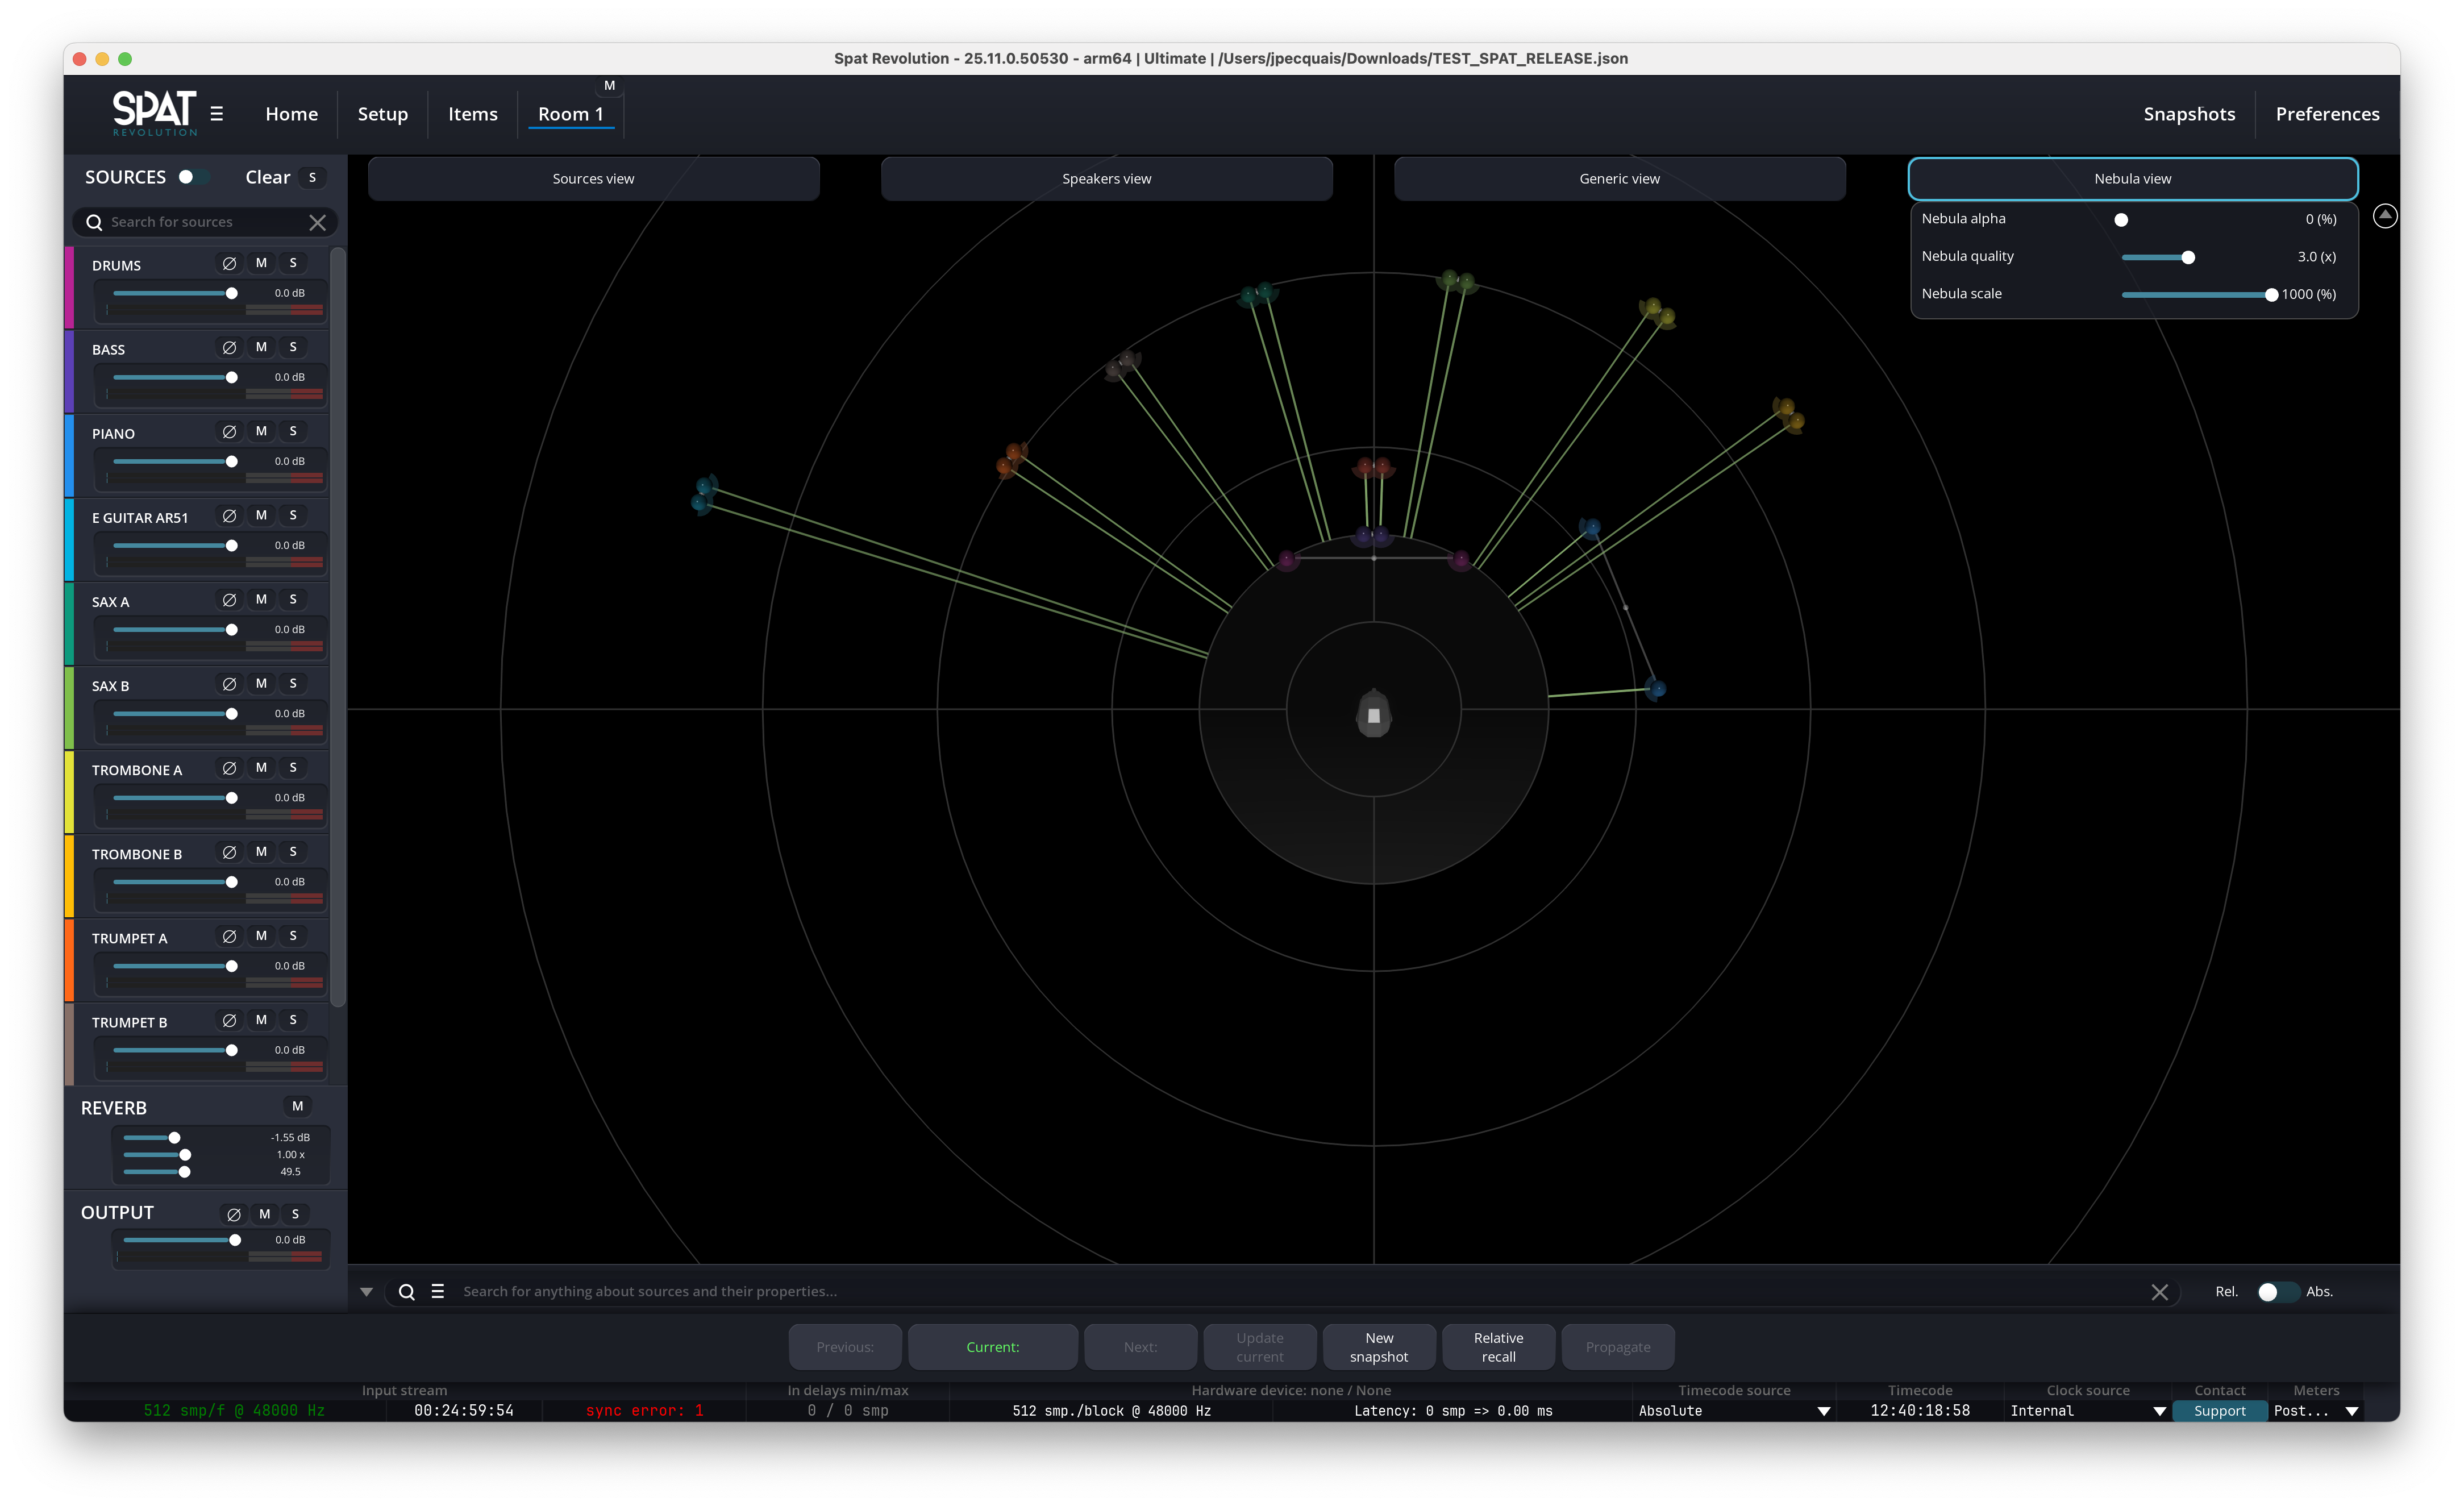
Nebula Alpha:
Change the transparency of the Nebula spectral analyzer.
When set to 0%, Nebula does not take any resources.
Consult the “Nebula Spatial Spectrogram” section for more information.
Nebula Quality:
Configure the quality factor of the Nebula.
Changing this factor will significantly change the performance.
Nebula Scale:
Allows to scale the Nebula “behind” the speakers.
Display output drop-down
Located on top of the 3D view, the “display output” drop-down allows choosing which point of the signal path to display.
For example, working in an HOA room creates a 3D view without a speaker. This is because of the very nature of how ambisonic work. But it also means you cannot use Nebula in that room. This is where this “display output” feature becomes handy. Instead of showing the actual HOA scene, it is possible to look at the sound scene at the transcoding stage to see what happens with Nebula on the speaker array.
Room output parameters
Output list
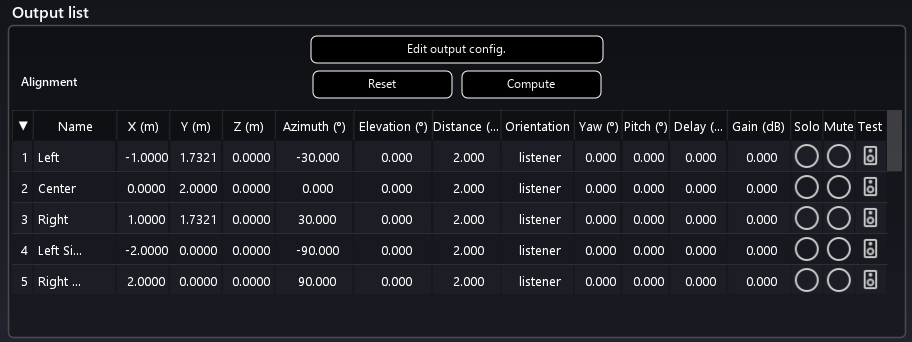
This panel lists all the speakers used in the room (when set to channel-based). It allows quick access to the speaker arrangement editor and the compute function. Each output has a test button that sends the signal from the signal generator directly to the routed speaker. The signal generator type and level are set in the Application preferences.
Listener
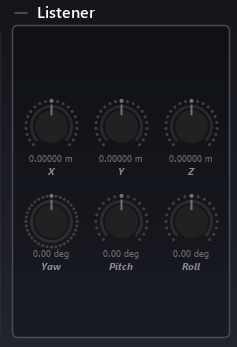
This panel gives access to the listening point. We can change its position using the X, Y, Z parameters, and its rotations using Yaw, Pitch, Roll.
Protection Zone

This panel controls the shape, size, and behavior of the protection zone — the area around the listener inside which sources are automatically repositioned. By default, the zone is a sphere with a diameter of four meters, centered on the listener position. For a detailed explanation of the protection zone and how it affects your sources, see the section The protection zone The protection zone.
The following parameters are available:
- Width — The zone size along the left/right axis (in meters).
- Depth — The zone size along the front/back axis (in meters).
- Height — The zone size along the top/bottom axis (in meters). Setting this to 0 creates a flat 2D zone.
- Front Top / Front Bottom / Rear Top / Rear Bottom — Four morphing percentages (0–100%) that control the shape of each quadrant, blending between a rectangular shape (0%) and an ellipsoidal shape (100%).
- Source over listener head — When enabled, sources entering the zone are pushed upward in elevation. Only available when Height is greater than 0.
- Source fit speakers elevation — When enabled, source elevation is clamped to match the range of the speaker layers. See Elevation clamping Elevation clamping for details.
Efficiency Zone

This panel contains options related to the efficiency zone.
- Clamping behavior option (consult the Understanding the mixing zones section for more information)
- Depth - change the depth of the efficiency zone
- Trunc (available only for non-surrounding 2D speakers’ setup) - change the starting distance of the efficiency zone
Scaling
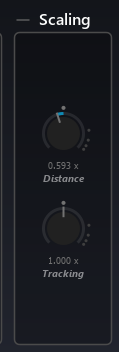
Distance
This parameter scales all the distance automation (OSC, plugins data, and snapshots) by a manual factor. This factor is adapted automatically when editing the arrangement of the room.
Tracking
This parameter changes the scale of RTTrPM protocol data.
Background Image
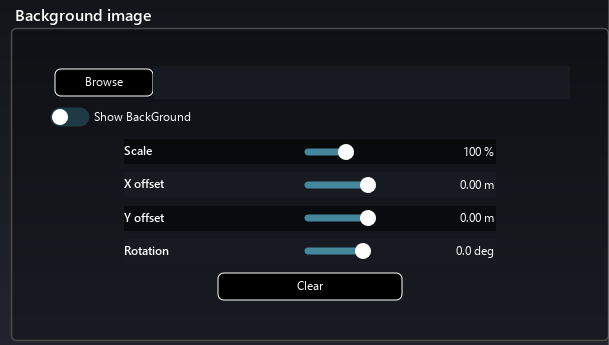
This panel allows you to import a background image in SPAT Revolution and to position it in the 3D view.
Make sure to have no special character in the path or file name.