Workspace Bar and Layout Editor
MiRA allows you to create custom layouts. A layout is an ensemble of scopes that can be placed anywhere on the user interface. It also stores the scope settings. The layout combines a grid system and a container system, allowing the user to create any possible layout.
Workspace Bar
To open the workspace bar, use the shortcut CMD/CTRL+L, or navigate to the Edit>Show Workspace toolbar

The workspace bar gives access to the organization and modification of the layout present in the current workspace. The current displayed layout can be changed using the drop-down menu and selecting the desired one. The selected layout can also be moved to the list position using the two arrows on the right of the drop-down menu.
The Edit button activates the editor to customize the currently selected layout. The Advanced button toggles on and off the advanced editor.
The New button creates a new blank layout.
The Rename button renames the currently selected button.
A layout can be duplicated using the Duplicated button, or deleted using the Delete button.
On the right of the workspace bar, you will find a drop-down menu to attach specific UI, IO or main menu setup presets to the currently selected layout.
Layout Editor
To edit the currently displayed layout, use the shortcut CMD/CTRL+SHIFT+L, or navigate to the Edit>Show Workspace toolbar menu and to Edit>Layout>Edit current.
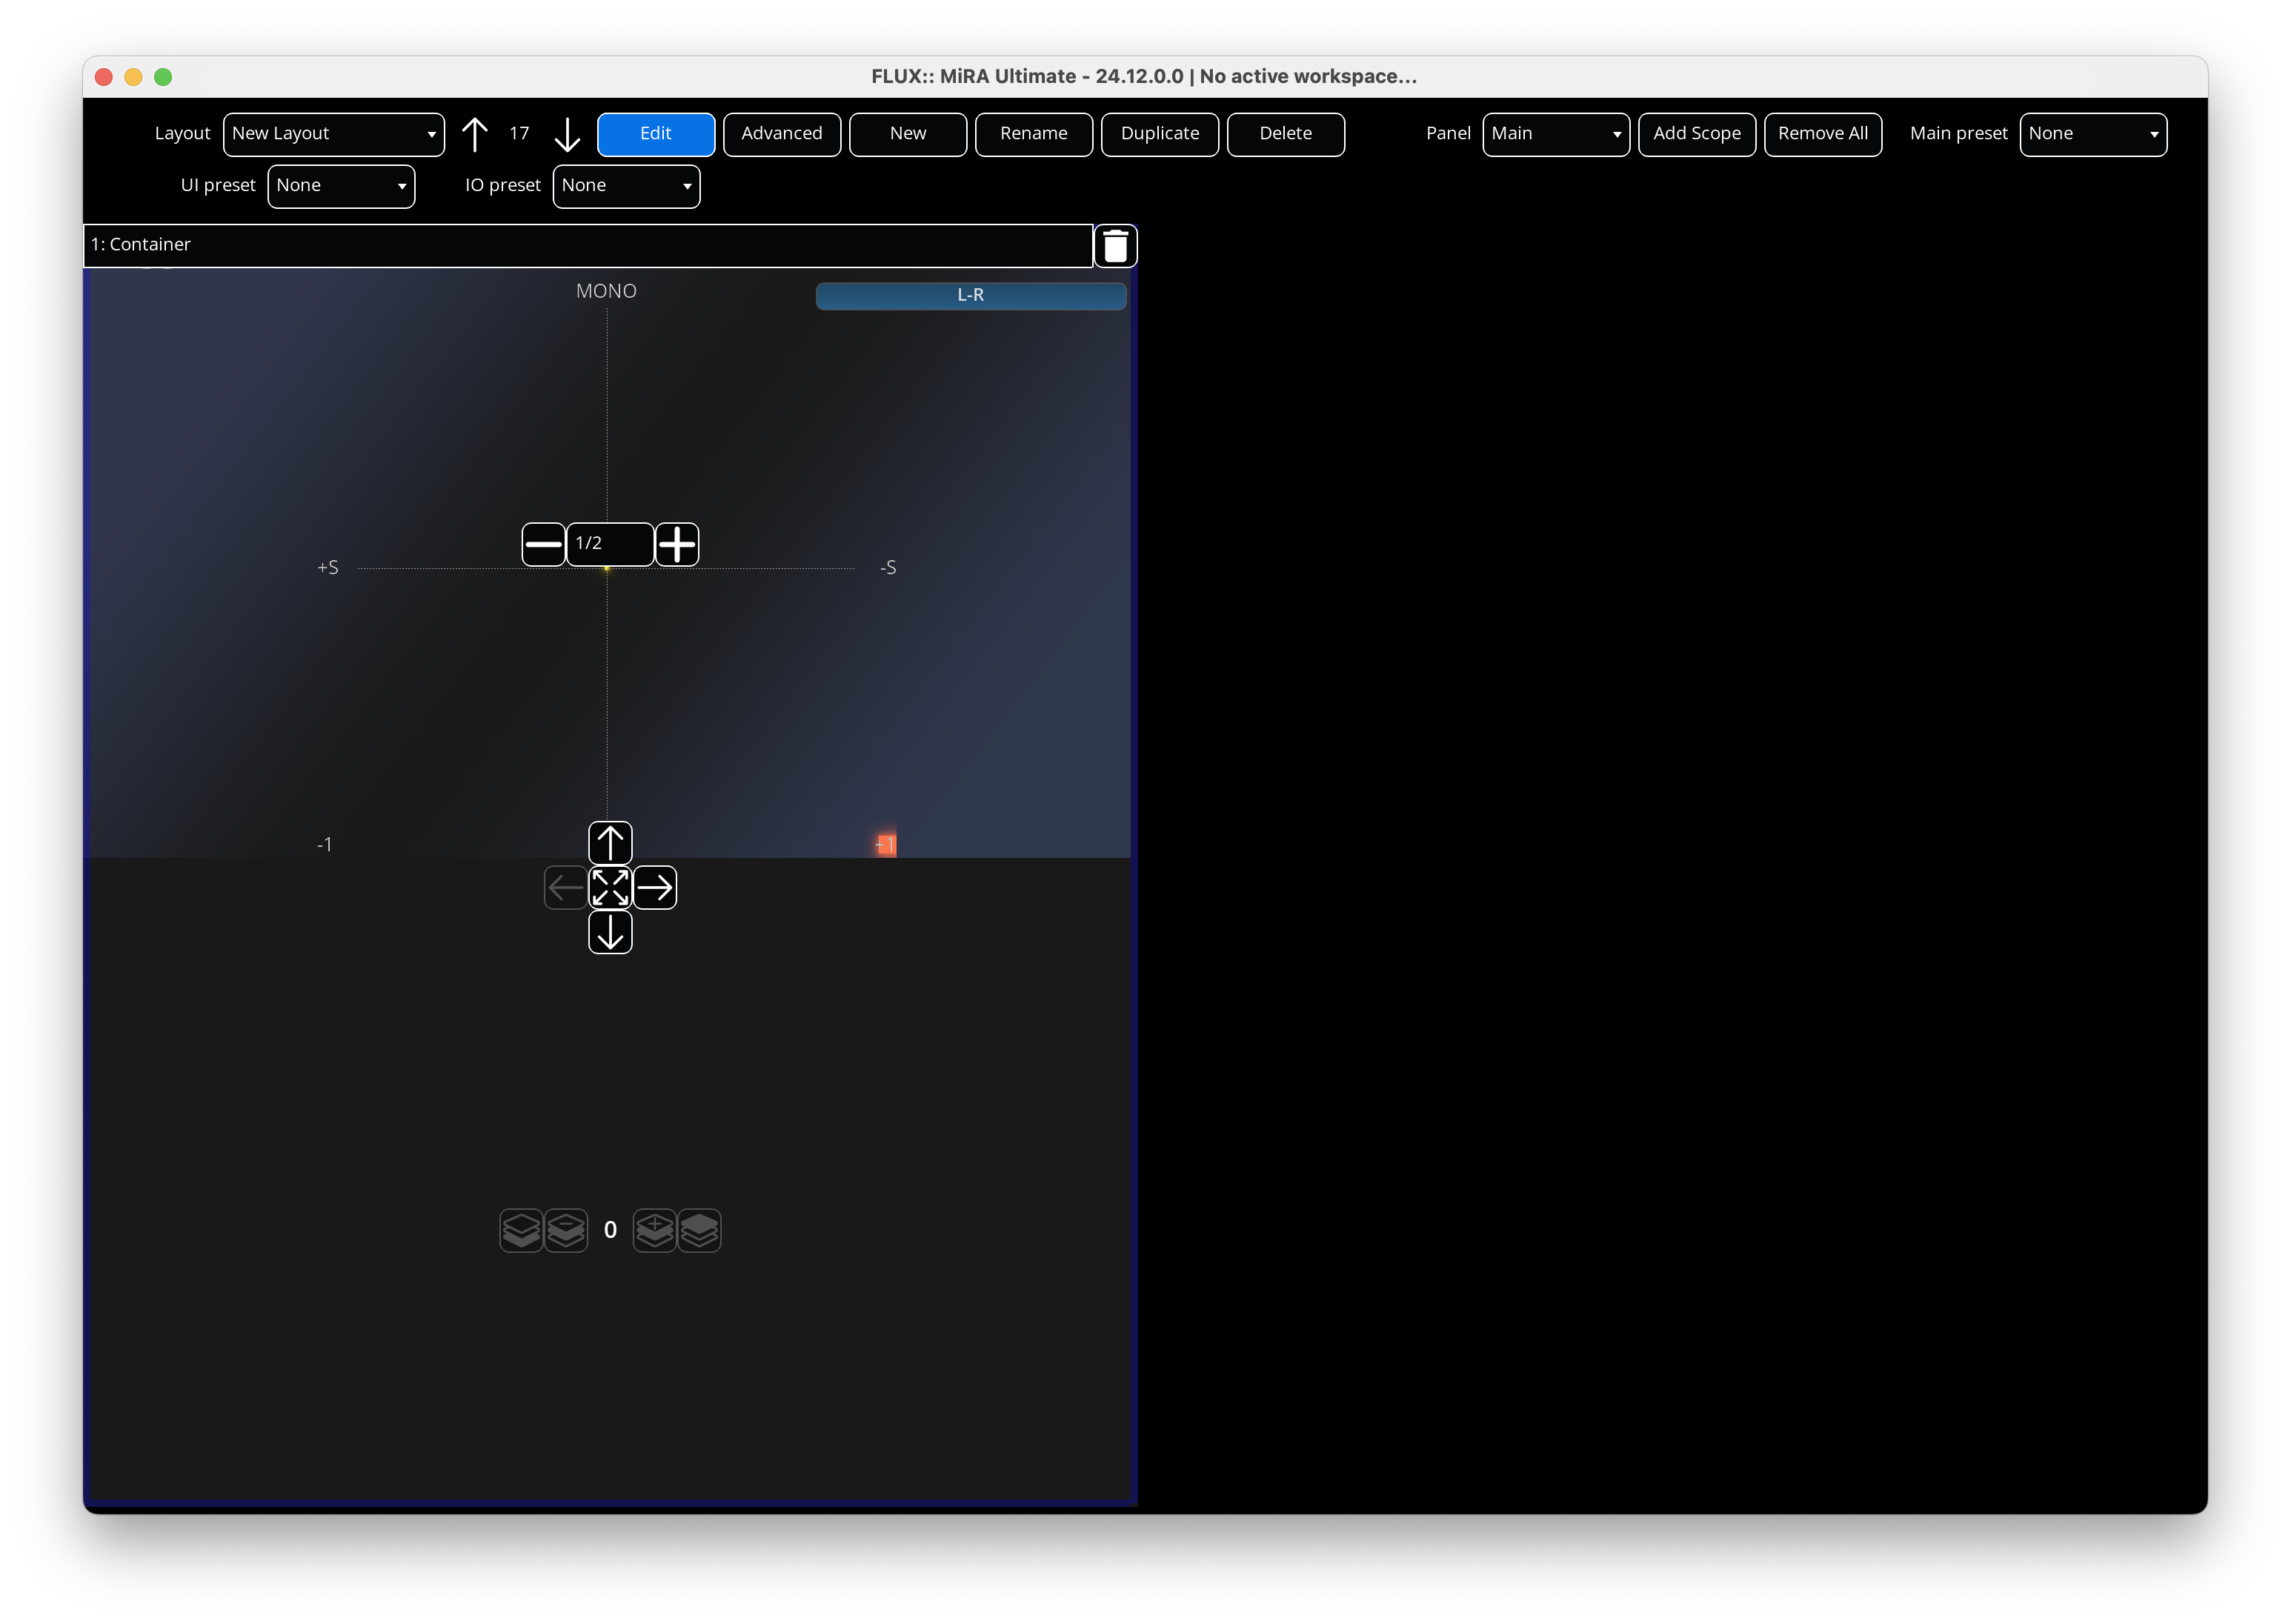
Several buttons appear on each scope:
- The arrows in the middle of the scope allow us to choose an anchor edge. When using the center button representing four arrows, the scope will occupy all the available empty space.
- The drop-down on the left allows us to change the dimension of the scope. If the scope is attached to the left or right sides, it sets the width of the scope. If the scope is attached to the top or bottom sides, it sets its height. If the scope occupies all the available space, then the drop-down is grayed out. The two little
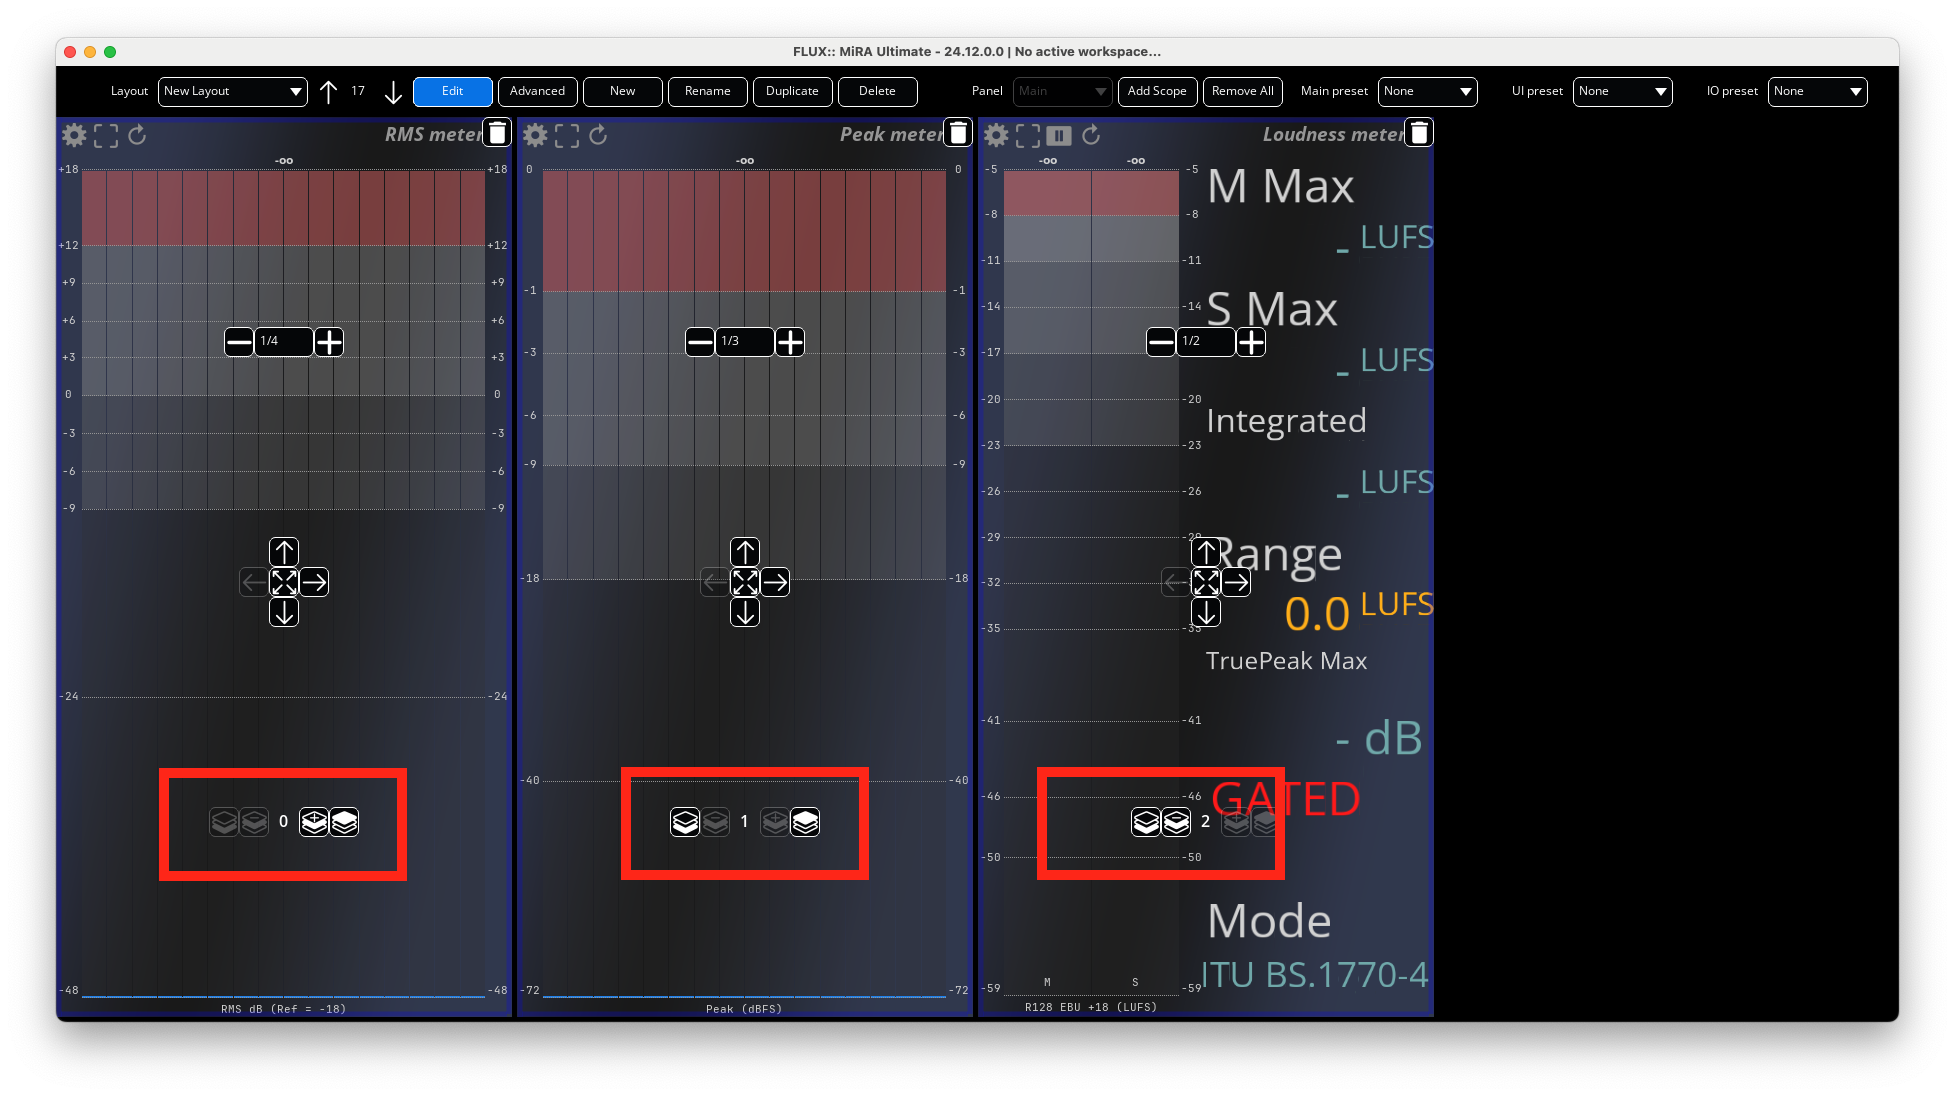
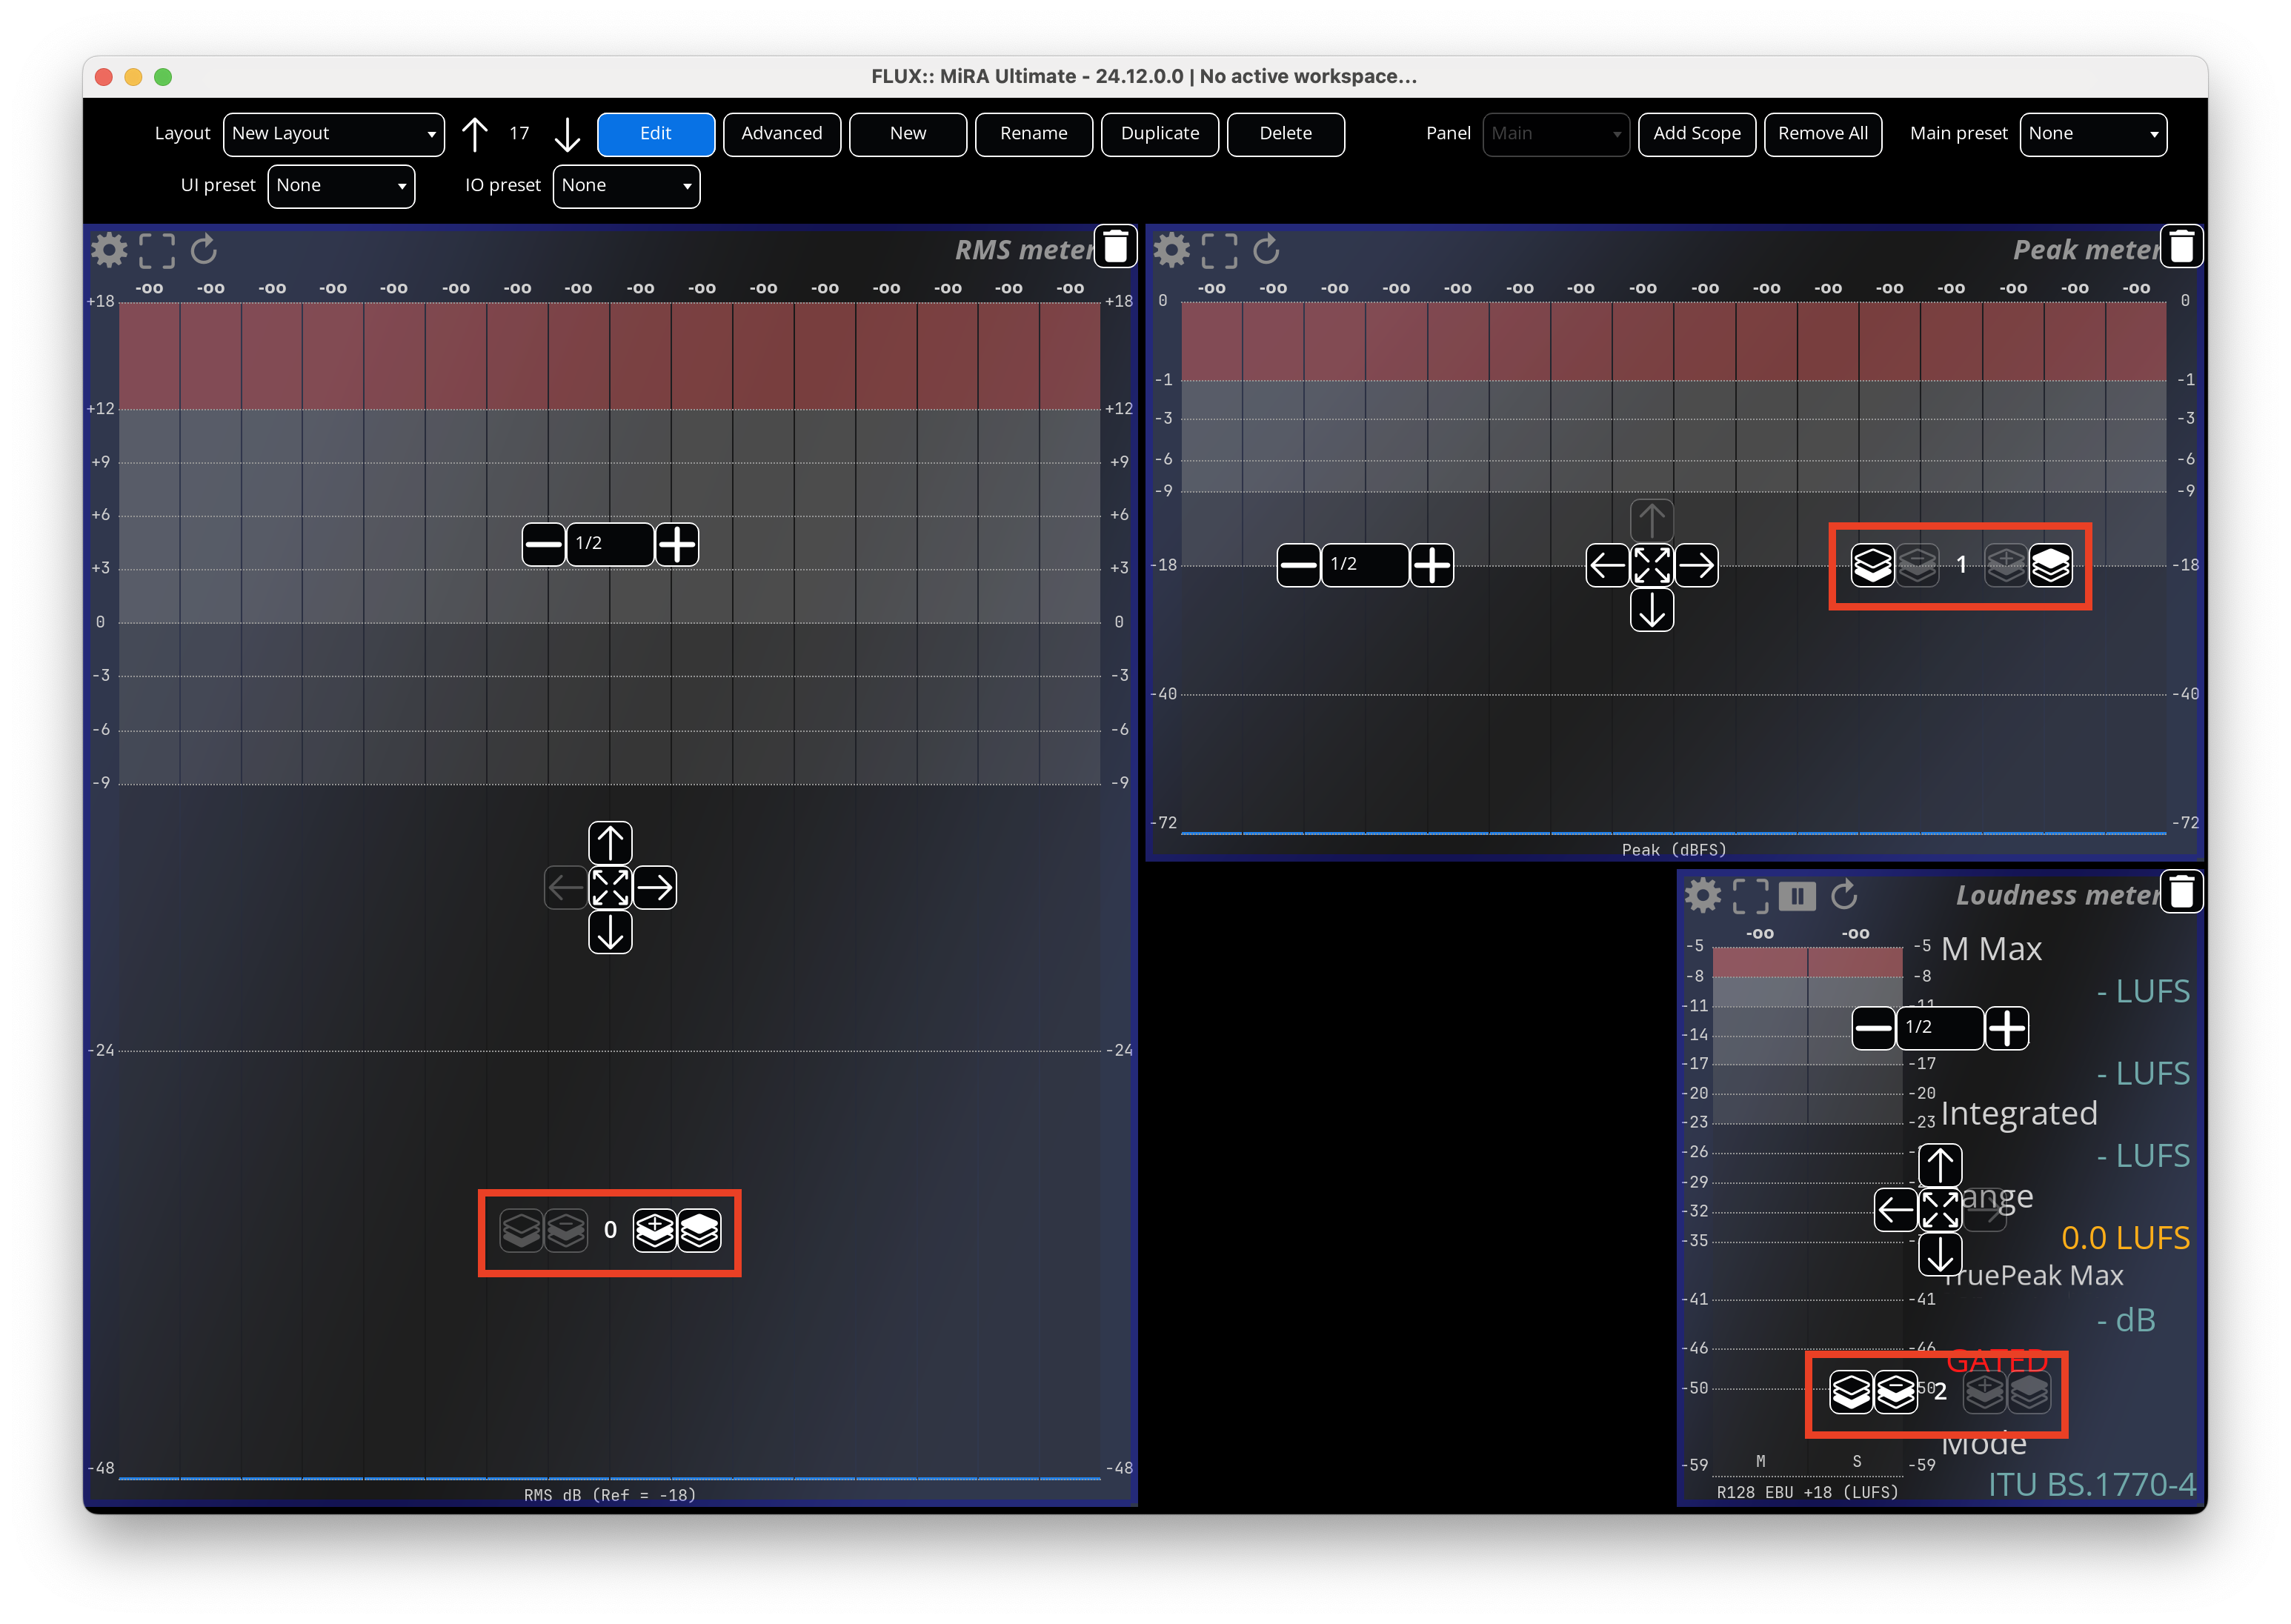
+and-buttons allow for fine adjustment over the size of the scope. - The right side feature controls to change the z-coordinate of the scope. The editor uses an “above-bellow” logic to place the scope on the user interface. This setting has two main influences:
- The size of the scope is computed relatively to the z-coordinate of the scope. The scope at the lowest position has its size computed against the whole user interface. The scope at a given level has its size computed against what is left unoccupied in the user interface.
- When several scopes are attached to the same edge, the bottommost scope is the closest to the edge.
- A recycle bin icon on the top right corner allows for scope deletion.
Creating A New Layout
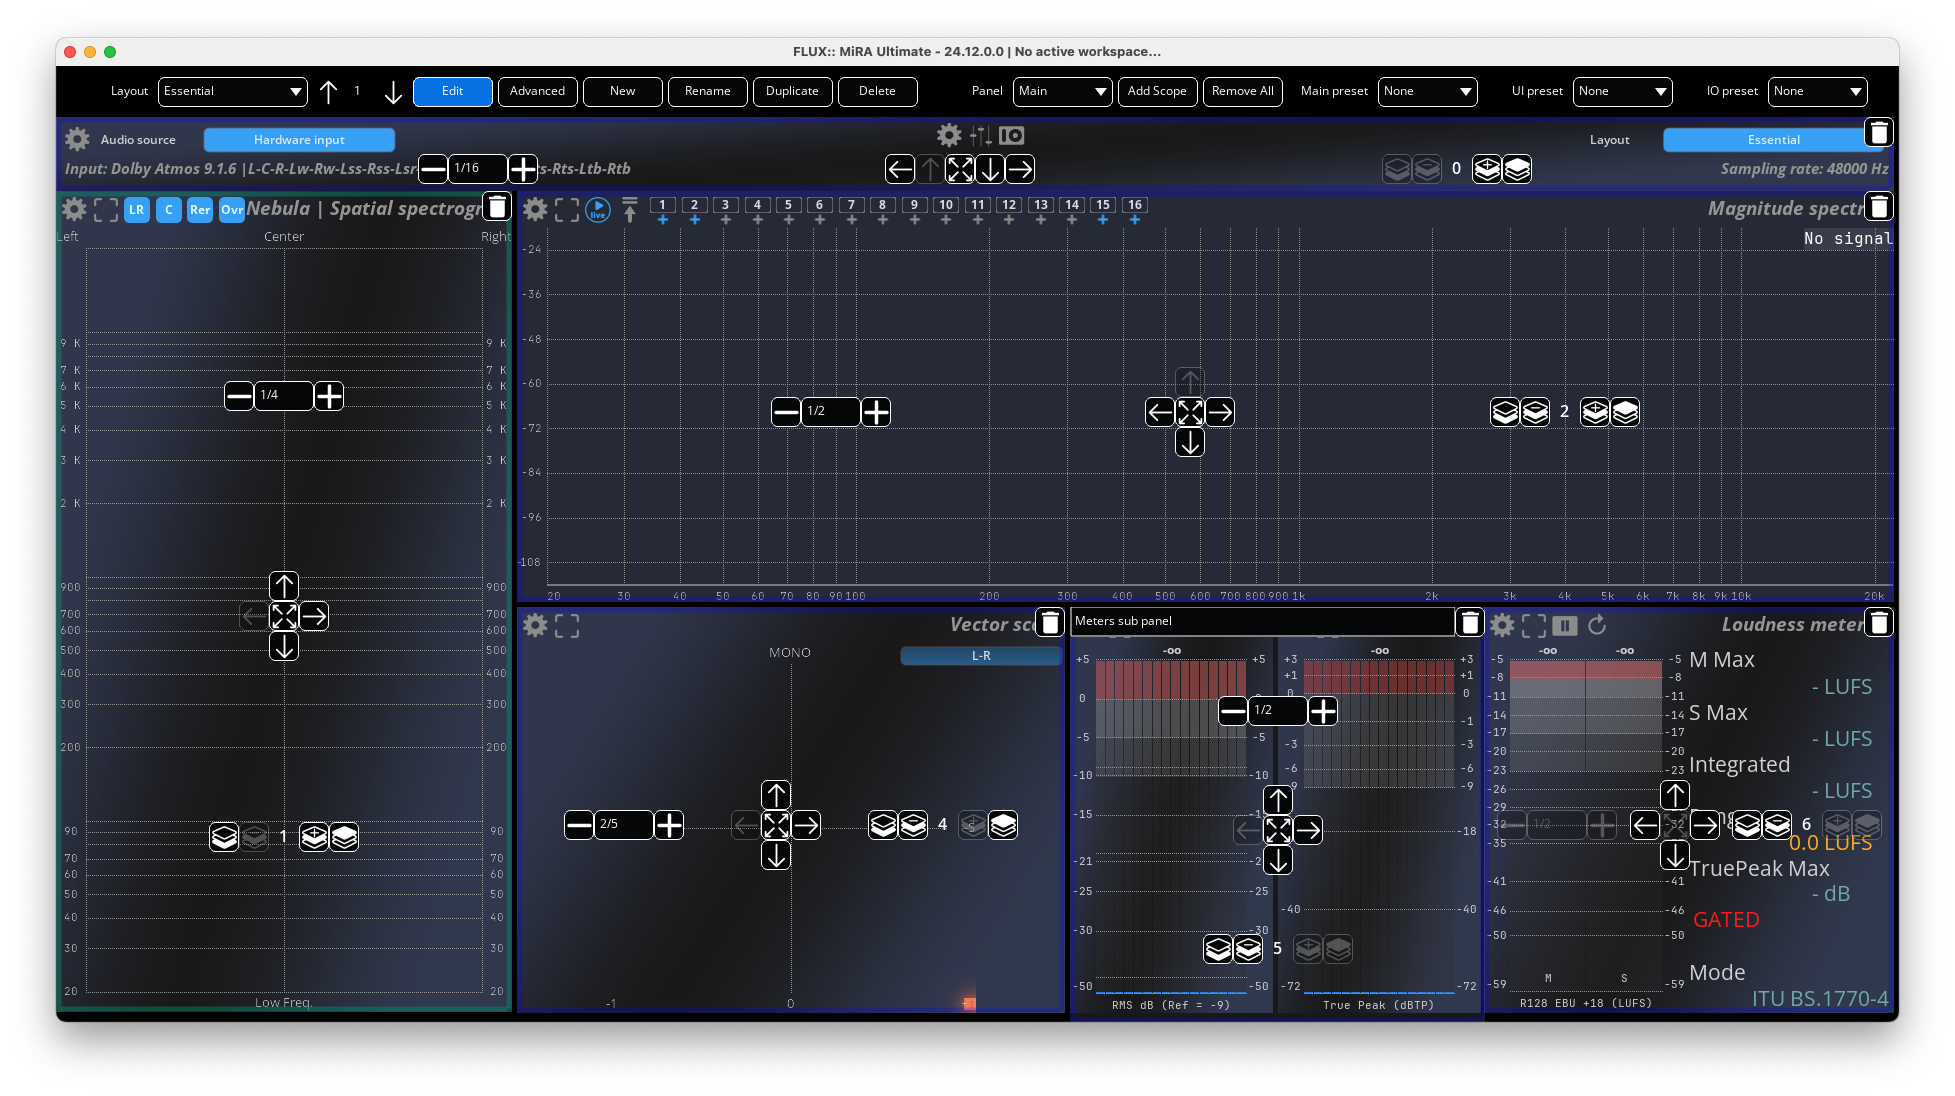
To create a new layout, we need to open the workspace bar (CMD/CTRL+L) and the click on the New button. This will create a blank layout that then needs to be populated with scopes.
To add a scope, click on Add Scope, then choose the desired one. As seen before, we can now access the position options in this new scope. It can be:
- Attached to the top, the left, the right, or the bottom of the layout.
- Moved in the z-axis.
- Deleted.
Usually, we choose to which side of the layout we want to attach the scope first, then, we use the size button to change the size of the scope. Once you are satisfied, click on Add scope again to add another scope and repeat the same step to position it on the screen. If you need to alter the scopes’ hierarchy, simply change their z-coordinate.
Finally, exit the Edit mode by clicking on the Edit button.
More complex layouts with containers
Some specific scope positioning is impossible using only what we have covered so far. For example, you cannot place a scope in the corner of the screen. We need to use containers to achieve a more specific and complex layout.
To add a new container, click on the Add Scope button and choose Scope Container. Now, each new scope will be added to the container.
Note that nested containers are not allowed.
You can navigate between containers and the main layout using the container selector drop-down menu is the workspace bar. Also note that, from the main panel, the containers can be positioned in the user interface just like any other scope.
As an example, if you want to position a vector scope in the top-left corner, start by creating a container. Attach it to the left side of the screen. Then select the container from the drop-down menu, add a new vector scope, and attach it to the top.